Creating a New Project
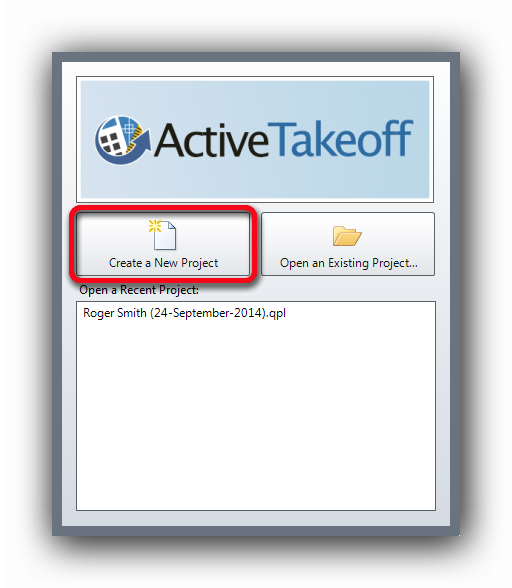
As soon as Active Takeoff is opened, the welcome window offers to create a new project or to open an existing project. Click on the "Create a New Project" button.
If a project is already opened, save it and click on the "New" function from the "File" menu.
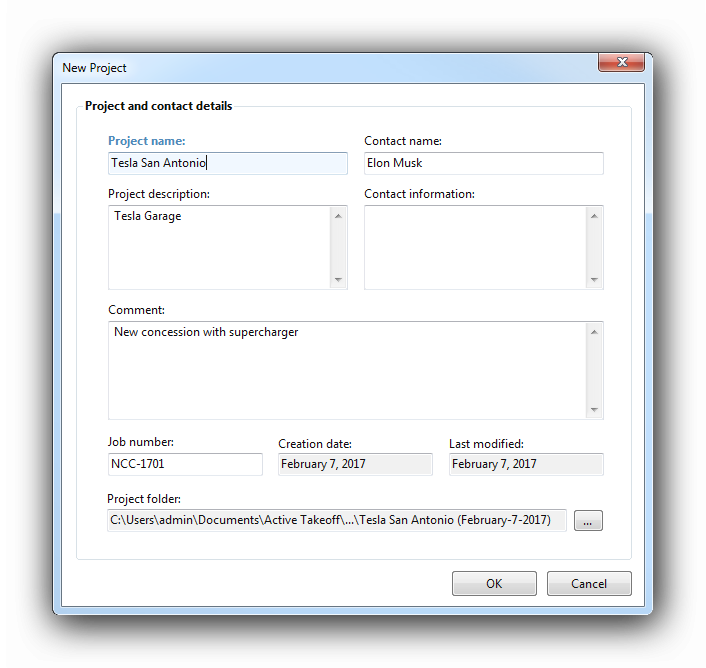
When creating a new project, Active Takeoff asks for useful project informations in the "Project and contact details" window.
Only the "Project name" is necessary because it will be used to name the .qpl project when saved.
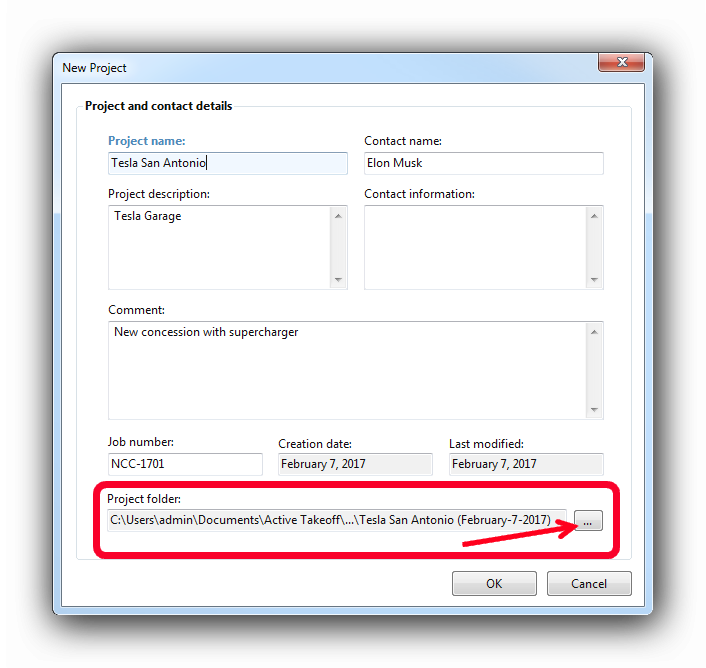
The default data folder in is defined in the "Tools" menu. By default the data folder is located in C:\Users\...\Documents\
The user can define an alternate folder by clicking the "..." button shown by the red arrow above. ProductName will display a dialog window allowing the user to specify a different folder. This folder can be located on the local computer, on a network location or in a cloud. The project file (.qpl) and the plan files (.png) will be saved in the same folder, optimizing project sharing between users.
Once you have selected the Save folder, the path to this folder will be displayed in the "New Project" window.
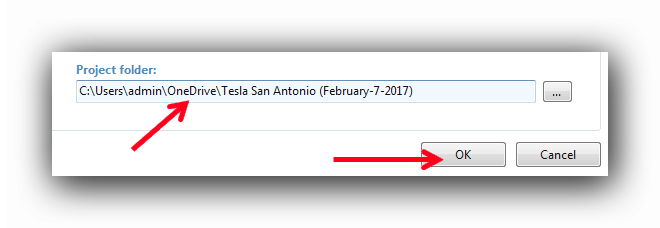
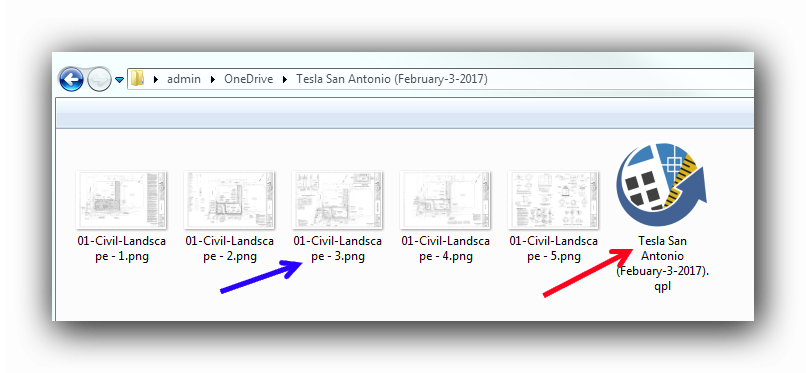
Once you save the project, the .qpl project (red arrow) and the associated plan pages (.png, blue arrow) will be saved in the same folder. This folder can be shared with other Active Takeoff users.
Once all the information is entered, click the "OK" button. Active Takeoff will now direct the user to the Plans tab which allows to insert plan images to the project.
See also :