Groups Panel
The Groups Panel
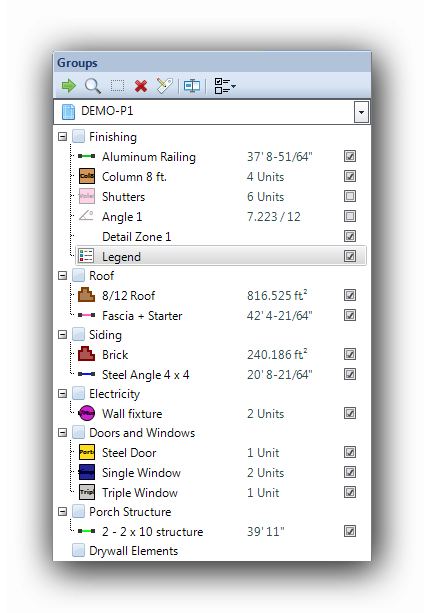
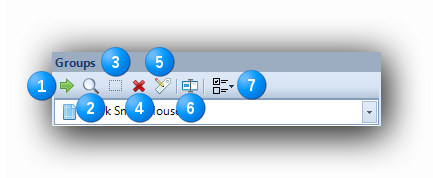
The Groups panel displays all the groups added to the current plan. Groups are displayed under the layer on which they were added. The Groups component contains tools useful for :
- Displaying or hiding the contents of a layer
The small square marked (-) et the left of a layer explodes or collapses the layer contents. This function only hides or shows the contents. Groups inside still exist when hidden. They are not deleted.
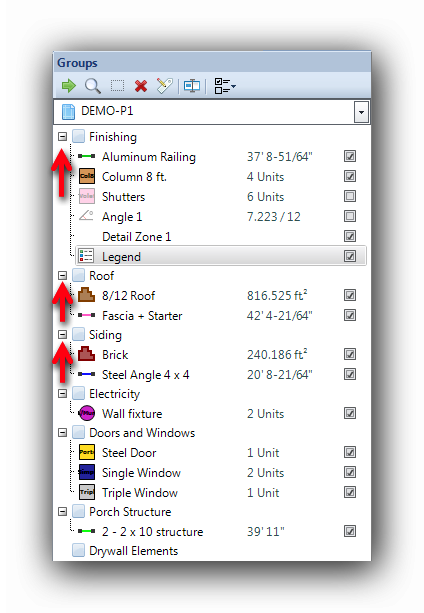
When the small square is clicked, the contents is hidden and the square becomes a (+). This tool provides a better overview in the Groups component.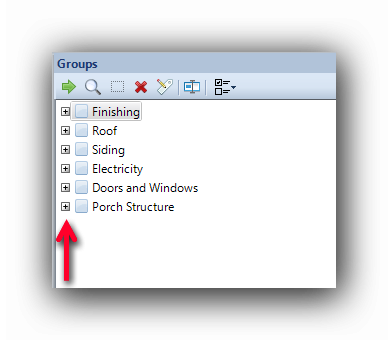
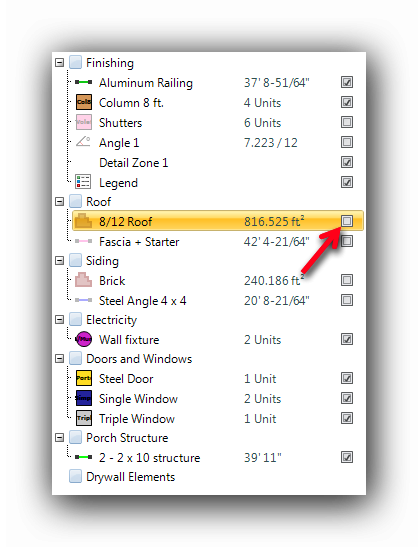
A Group can be made visible or invisible on the canvas by clicking on the checkbox at the right of the group's associated color. When the checkbox is checked means the group is visible. When the checkbox is unchecked, the group is invisible and will not appear on the canvas. In the screen shot above, two (2) groups are invisible.
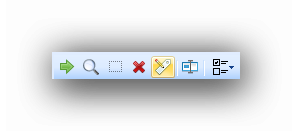
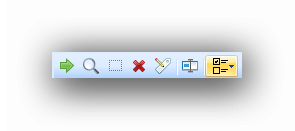
Functions in the Groups component :
|
|
|
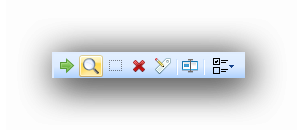
Locates the first occurrence of an highlighted object in the grid. Click this button to locate the first occurrence of the object on the canvas. |
|
|
|
Zooms on the last occurrence of an highlighted object in the grid. Click this button to zoom to the last occurrence of the object on the canvas. |
|
|
|
Locates and zooms on all the occurrences of a group highlighted in the grid. Click this button to zoom to all objects of a group on the canvas. |
|
|
|
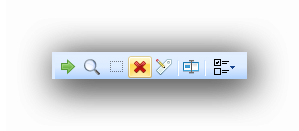
Deletes a group highlighted in the grid. A confirmation is required before deleting. This action is Undoable. |
|
|
|
Renames a group highlighted in the grid. Another way to rename a group is to slowly double click on the group name in the Groups component. A group can also be renamed in the Properties Component when focused. |
|
|
|
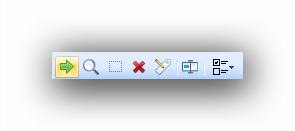
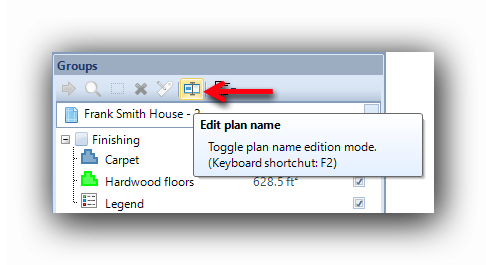
Edit or rename the name of a plan from the Groups component :
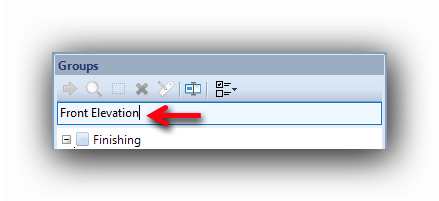
The name of a plan can be edited in the Groups component. One click on the icon shown by the arrow (or F2 on the keyboard) highlights the current plan name and activates the editing. The new plan name has to be entered in this text field.
The plan will also be renamed in the Plans tab :
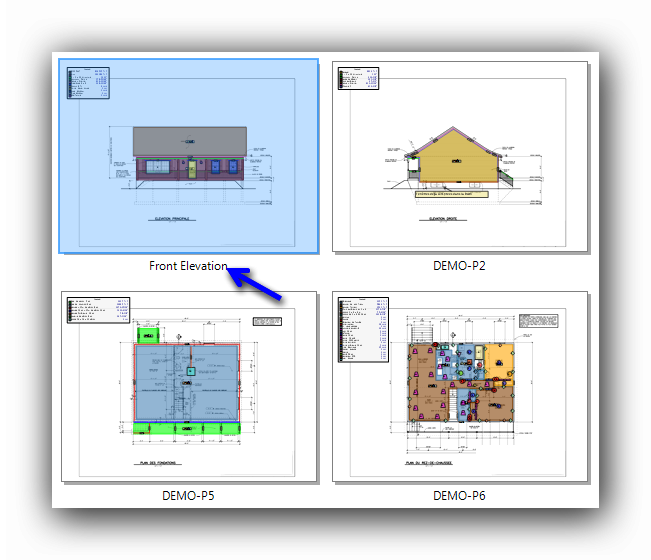
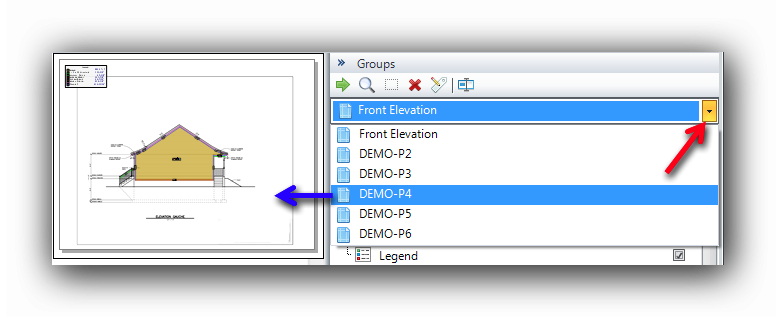
Navigating from plan to plan in the Groups component. To quickly change plans from the Home tab, use the dropdown list in the Groups component. All the available plans from the Plans tab are displayed in this dropdown list:
To access the plan list, click on the button shown by the red arrow. Select the required plan in the dropdown list. A miniature, shown by the blue arrow, displays the selected plan. Click on the plan name to load it in the canvas. |
|
|
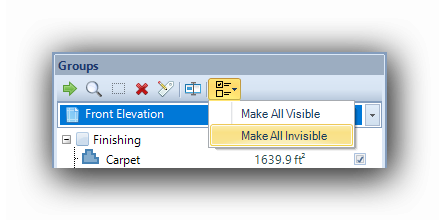
|
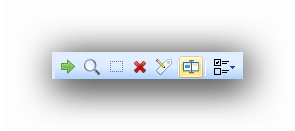
Makes all groups visible or invisible in the groups panel. |


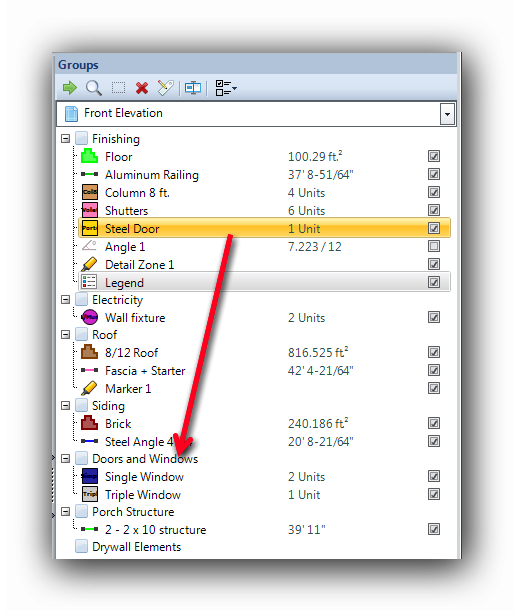
Moving an Object Group from layer to layer in the Groups Panel.
An Object Group can be moved from a layer to another in the Groups Panel with a simple mouse drag and drop.
In this example, the "Steel Door" Group will be moved from the "Finishing" layer to the "Doors and Windows" layer.
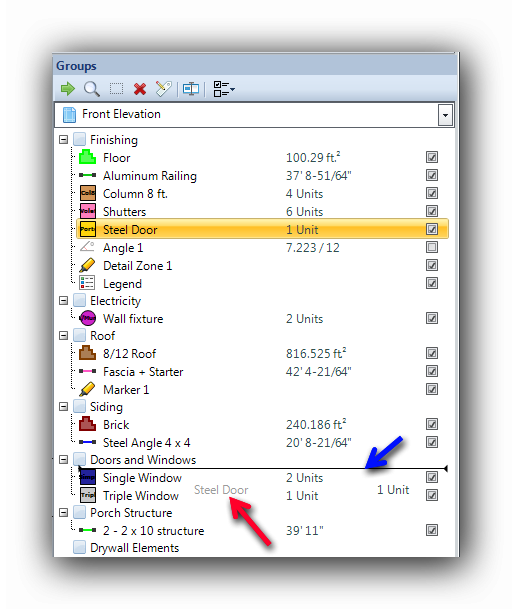
While moving a group with the "Drag and Drop" method, a positioning line will appear, showing the destination position (blue arrow). The group name also appears in transparency (red arrow).
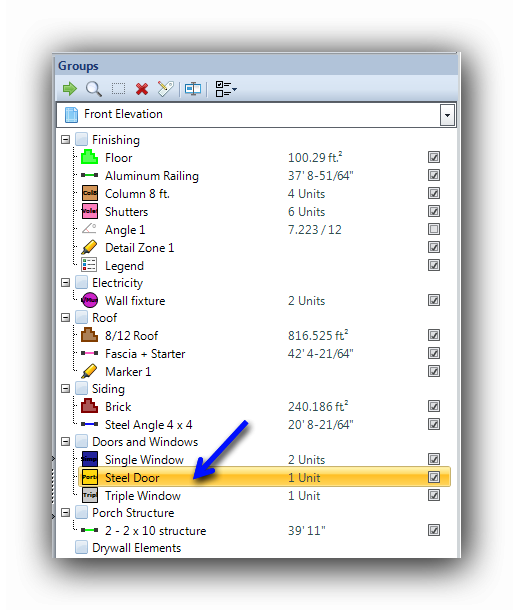
When the mouse button is released, the object is placed in the selected layer. This layer becomes the active layer.
See also :
Layers Component
The Report