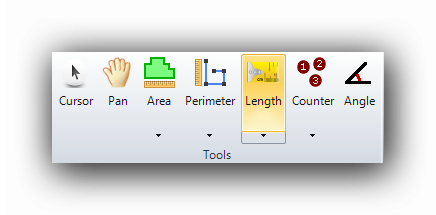
Length Tool
The Length Tool
The Length tool measures individual linear segments on the canvas. Measure by left clicking the first point of a segment. Left click again at the end of the segment to be measured. The user can also hold the left mouse button down from the first point of the segment then releasing the button at the end of the segment. The tool will remain active and ready for a new measurement. The Length tool generates results in linear units (linear feet, millimetres, meters, etc.)
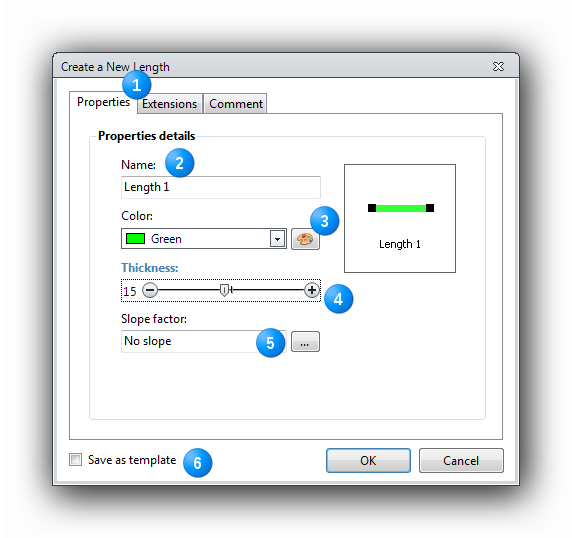
Create a New Length
When the Length Tool is selected, a "Create a New Length" window appears to let the user configure the settings of the object or group of objects. In this window, the Name, Color, line Thickness and Slope factor can be set for this object. A "Save as template" checkbox can be checked to save this Length configuration for future use on another page of the plan or on new projects. Click the "OK" button to confirm the settings and start measuring on the canvas.
|
|
The Tabs When creating a New Length, the window will open on the "Properties" tab. An "Extensions" tab displays the available extensions which will add extra results to the raw measurement taken. A "Comment" tab adds comments to the object or group of objects. These comments can be displayed in the report. The extensions and comments can be added later if they are not configured here. |

|
|
The Name of the Length object is modifiable to the user's specifications. |

|
|
The object color Select the object's color with the dropdown menu of by clicking on the "Palette" button. |

|
|
The segment Thickness The thickness of the drawn line is modifiable with this slider right from the creation of the object group. It is afterwards modifiable in the Properties grid. |

|
|
The Slope Factor Apply a Slope Factor if needed. For more information about Slope factors with the Length tool, click here. |

|
|
Save as template Saves an object as a template for future use on another page of the plan or on new projects. To save a template, check the checkbox before clicking the "OK" button. |

Measuring with the Length tool
The pointer for the Length Tool looks like this : 
In the example images, locate the left clicks : and the release of the left mouse button :
The green arrow indicates that the left mouse button must be held down while measuring and moving the mouse.
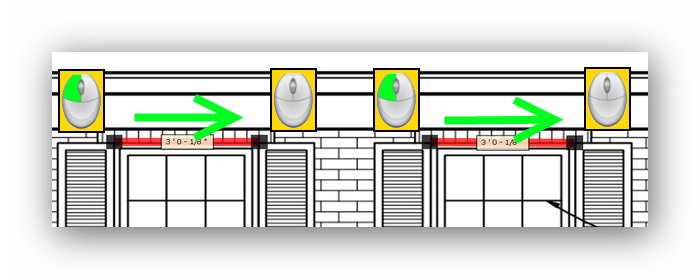
Alternative : Measure by left clicking the first point of a segment. Left click again at the end of the segment to be measured.
The Length Tool's contextual menu
To access the contextual menu of the Length tool, click on an handle anchor or on a segment with the right button of the mouse. The menu will appear and display its many options.

Add new length to group
Adds a new Length object in the group from which it was generated.
There are two (2) ways to apply Add new length to group when the focus is set on a Length.
- By using the contextual menu
- By using the keyboard (N)
For other functions of the contextual menu, click on the following topics :
Select Functions in Contextual Menus
Move Functions in Contextual Menus
Accurate move and positioning
To accurately move and position a Length, use the arrows on the keyboard while holding the Ctrl button down. Many Lengths can be moved simultaneously.
Pan the canvas while measuring.
The canvas can be panned while measuring with the Length tool. Hold the right mouse button down and move the canvas. When the right mouse button is released, the canvas is repositioned and the measuring process continues.
See also :
Slope Factors with the Length and Perimeter Tool